
A flat roof can look fine from the ground while water is working its way through a seam, drain detail, or cracked coating. Learning how to seal a flat roof starts with identifying what the roof is made of and whether it is actually a good candidate for sealing. A coating can extend the life of a sound low-slope roof, but it will not correct saturated insulation, failed flashing, or drainage problems.
For Michigan property owners, timing matters too. A roof must be clean, dry, and within the coating manufacturer’s temperature and weather requirements. Applying a product to a damp surface or over an active leak may hide the problem briefly, then leave you with a larger repair later.
Start With an Honest Roof Assessment
Before choosing a sealant or coating, inspect the entire roof surface and the areas where leaks most often begin. On a flat or low-slope roof, water rarely enters through the middle of an intact field membrane. More often, it gets in at seams, penetrations, curbs, edge metal, drains, scuppers, and transitions to walls.
Look for splits, punctures, loose seams, open flashing, cracked sealant, exposed fasteners, and blisters. Pay close attention to HVAC units, vent pipes, skylights, and drain bowls. If the ceiling below has water stains, map their location, but do not assume the leak is directly overhead. Water can travel along decking, insulation, or structural members before it becomes visible indoors.
Ponding water deserves a closer look. A shallow puddle after rain is not always an emergency, but water that remains for more than 48 hours can shorten the service life of many roofing systems. Coating over a low spot does not restore proper slope. If the roof is holding water because of blocked drains, settlement, or failed insulation, solve that issue before investing in a restoration coating.
Know Which Flat Roof You Have
The best way to seal a flat roof depends on its existing membrane. Commercial low-slope roofs commonly use TPO or EPDM membranes, and each needs compatible repair materials, primers, and coatings. Using the wrong product can prevent adhesion, cause chemical damage, or void an existing manufacturer warranty.
TPO is a heat-weldable single-ply membrane. Small damage may be repaired with properly prepared and welded TPO patches, while seams and details need to be checked for separation. EPDM is a rubber membrane that relies on compatible tapes, adhesives, and liquid flashing products. It cannot be repaired the same way as TPO.
Older roofs may have modified bitumen, built-up roofing, or an existing coating system. These roofs can often be restored, but only after confirming the surface is stable and the new coating is designed for it. A professional inspection is especially useful when the roof has multiple layers or prior repairs, because what appears to be a simple coating job may involve moisture below the surface.
How to Seal a Flat Roof Step by Step
A successful sealing project is mostly preparation. The coating is the final layer, not the repair plan.
1. Clean the roof completely
Remove leaves, branches, dirt, loose coating, and debris from drains and scuppers. Then wash the roof with the cleaner recommended for the membrane or coating system. Grease, chalking, and airborne residue can keep a coating from bonding correctly.
Rinse thoroughly and allow the roof to dry fully. This is not the step to rush. Moisture trapped in seams, around penetrations, or under a fresh coating can lead to bubbling and early failure.
2. Repair damage before coating
Address open seams, holes, tears, deteriorated flashing, and loose edge details first. The correct repair depends on the membrane type. A patch should extend beyond the damaged area onto clean, sound material, with rounded corners where applicable to reduce lifting at the edges.
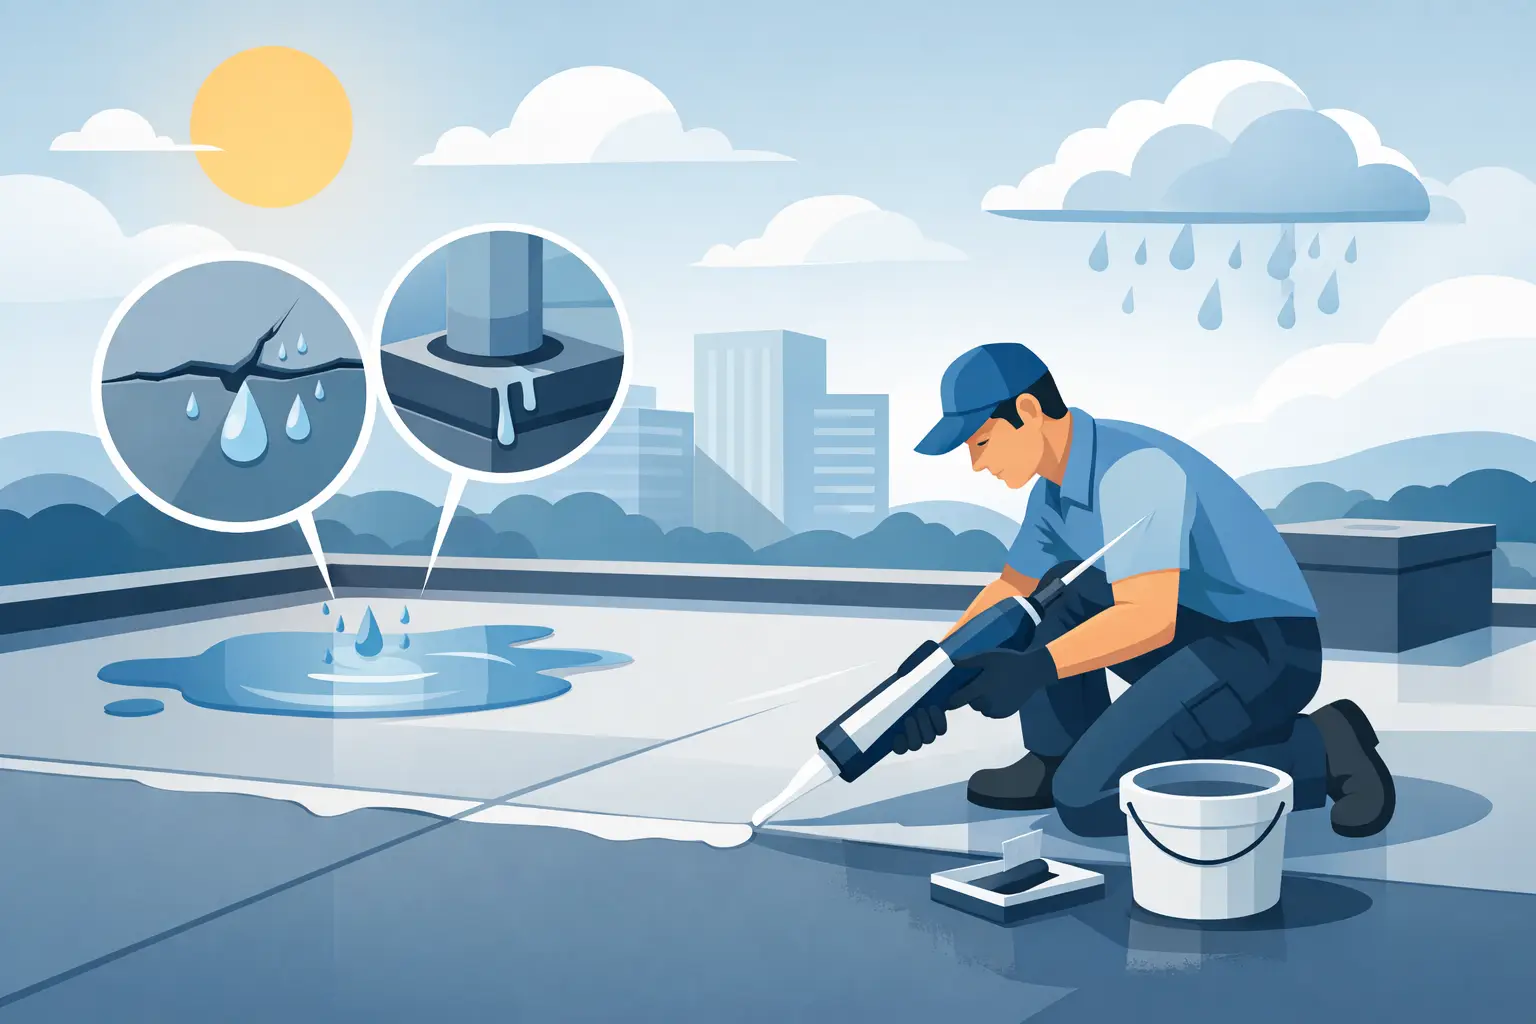
Cracked sealant around pipe boots, curbs, and wall flashings should be removed when it has failed rather than simply covered with more product. New compatible sealant or liquid flashing must be installed on a prepared surface. If the decking feels soft, insulation is wet, or the roof has widespread seam failure, stop and have the roof evaluated. Those conditions may call for partial replacement or a full tear-off, not a surface seal.
3. Reinforce vulnerable details
Roof details move more than the open field of the roof. Drains, scuppers, penetrations, parapet walls, seams, and transitions are often reinforced with compatible fabric or flashing material embedded in a liquid product. This creates a thicker, more flexible waterproof layer at high-risk areas.
Follow the system specifications closely. Reinforcement fabric is not a substitute for a properly repaired membrane, and coating every seam without cleaning and priming it first can create a false sense of security.
4. Prime when the system requires it
Some membranes and roof surfaces need a primer to improve adhesion. This is common on weathered surfaces, certain single-ply membranes, and roofs with a chalky finish. Skipping primer to save time can cause peeling, especially after freeze-thaw cycles and standing water.
Use the primer specified by the coating manufacturer, apply it at the required coverage rate, and let it cure as directed. Mixing products from different systems without confirming compatibility can turn a manageable restoration project into an expensive failure.
5. Apply the coating at the proper thickness
Once repairs and preparation are complete, apply the coating evenly with the approved roller, brush, or spray equipment. Most systems require more than one coat, with enough drying time between applications. The goal is not simply to make the roof look white or freshly coated. It is to apply the required dry-film thickness across the entire roof, including edges and details.
Measure the roof so you can calculate how much material is needed. Stretching a pail too far results in a thin coating that may weather quickly. Keep coating out of drains and scuppers, and maintain clear paths for water to leave the roof.
6. Inspect after curing
After the system has cured, inspect the roof again. Check for thin spots, pinholes, missed transitions, and areas where the coating did not bond. Remove construction debris from drains and schedule routine inspections, especially after severe storms and through the spring thaw.
When a Coating Is a Smart Choice
Flat-roof sealing and recoating can be an affordable, lower-disruption option when the existing roof is still structurally sound. It can protect a weathered membrane from ultraviolet exposure, refresh aging surfaces, and address localized detail work without immediately replacing the entire roof.
It depends on the roof’s condition. A coating is usually a poor choice when there is widespread wet insulation, major membrane shrinkage, repeated leaks in several areas, failing deck materials, or drainage problems that leave water on the roof. In those cases, coating can delay the necessary work while allowing concealed damage to continue.
A detailed inspection should separate repairable surface issues from deeper system failure. That distinction matters for building owners comparing the short-term cost of a restoration against the longer service life of replacement.
Safety and Weather Are Part of the Job
Flat roofs are not automatically safe roofs. Wet membrane surfaces can be slippery, roof edges may have limited protection, and skylights can be difficult to see under dirt or standing water. Avoid walking a roof during rain, frost, high winds, or when the surface is soft from heat.
Check the product label for temperature limits, humidity restrictions, and rain exposure requirements. In Durand and nearby communities, a dry weather window can close quickly during spring and fall. Starting only when the roof and forecast support the work is far better than trying to beat incoming rain.
Get a Clear Scope Before You Seal
If you are seeing recurring leaks, peeling coating, or ponding water, ask for an inspection that identifies the membrane type, the source of moisture, necessary repairs, and whether restoration is realistic. A clear line-item estimate should explain surface preparation, repair areas, coating coverage, cleanup, disposal, and warranty information, with no surprises.
DLR Construction helps property owners assess whether an Insta-Coat restoration, targeted repair, or replacement makes the most financial sense for the roof in front of them. The right next step is the one that keeps water out for the long term, not just until the next hard rain.