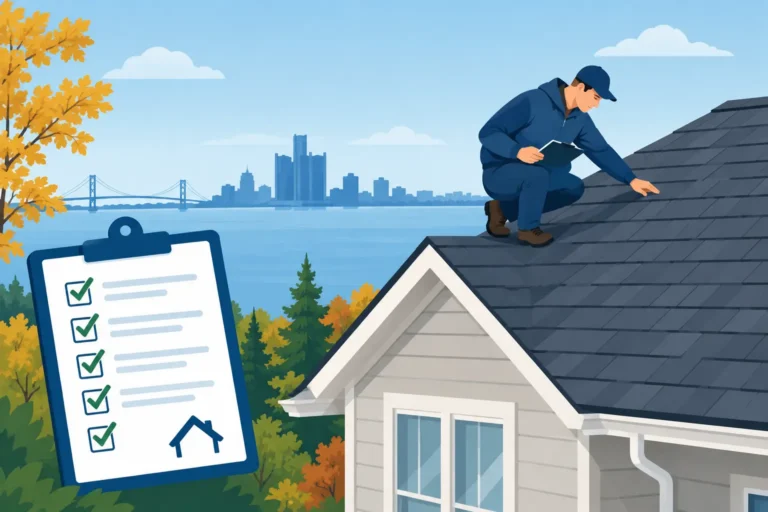


A roof claim can feel urgent long before the insurance paperwork makes sense. If shingles are missing after high winds, hail has marked the roof, or water is entering the building, knowing how to file a roof insurance claim helps you protect the property while avoiding preventable delays.
The goal is not to make the damage sound worse than it is. It is to document the condition accurately, prevent additional damage, and give the insurer the information needed to evaluate a covered loss. A careful process also helps you compare the insurance scope with the actual work your roof needs.
Start With Safety and Temporary Protection
Do not climb onto a damaged roof to inspect it yourself, especially after wind, hail, snow, or ice. Loose shingles, wet decking, hidden punctures, and unstable gutters can turn a small problem into an injury.
From the ground, take photos and video of visible damage, including missing materials, fallen branches, dented gutters, damaged siding, and debris around the property. Inside, photograph ceiling stains, wet insulation, peeling paint, or active leaks. Include wide shots that show the location and close-ups that show the damage clearly.
If water is getting inside, take reasonable steps to limit further damage. Move furniture, catch dripping water, and use a temporary tarp only if it can be installed safely by a qualified professional. Keep receipts for emergency mitigation, materials, or temporary repairs. Most policies require property owners to protect the building from additional damage after a loss, but permanent repairs should generally wait until the insurer has had an opportunity to inspect.
Review Your Policy Before You Call
Your declarations page is a good place to start. It identifies your deductible, coverage limits, and whether your roof is covered on a replacement cost value or actual cash value basis.
Replacement cost coverage may pay the cost to replace covered damaged materials, subject to the policy terms and deductible. Actual cash value coverage accounts for age and depreciation, so the initial payment can be lower. Some policies also have separate deductibles for wind or hail, and others may limit coverage for older roofs or certain types of damage.
You do not need to become an insurance expert before reporting a claim. Still, understanding these basic terms helps prevent surprises. If the policy language is unclear, ask the insurance company to explain how the deductible, depreciation, and recoverable depreciation apply to your specific claim.
How to File a Roof Insurance Claim Step by Step
Contact your insurance carrier promptly using the claims number on your policy, insurer app, or customer service line. Give a factual description of what happened, such as the date of the storm, when you noticed the damage, and whether there is an active leak.
Ask for a claim number and write it down. Also record the name of the representative, the date and time of the call, and any instructions you receive. This claim number should be included in future conversations, estimates, and documentation.
When you report the loss, avoid guessing about the cause or cost of repairs. You can state what you observed: wind-blown shingles, hail impacts, water staining, or damage after a particular storm. The insurer will assign an adjuster to inspect and determine whether the loss is covered under your policy.
A practical claim file should include the following:
- Photos and videos taken before any cleanup or repairs
- The date and time you first noticed the damage
- Receipts for emergency mitigation and temporary protection
- Copies of contractor inspections, estimates, and invoices
- Notes from every conversation with the insurance company
Keep digital copies in one folder and save paper records as well. A well-organized file makes it easier to answer questions later, particularly if the claim involves more than one inspection.
Get a Professional Roof Inspection Before the Adjuster Visit
A local roofing contractor can identify storm-related damage that may not be visible from the ground. On an asphalt shingle roof, that can include creased or lifted shingles, broken seal strips, exposed fasteners, granule loss from hail impact, and damage around valleys, vents, pipe boots, flashing, and ridge caps.
For commercial low-slope roofs, the inspection may focus on punctures, membrane seams, edge metal, drains, ponding areas, and moisture entry points. TPO and EPDM systems require material-specific evaluation because a small puncture or seam issue can allow water to travel beneath the membrane before it becomes visible indoors.
A contractor’s inspection does not replace the insurance adjuster’s decision. It gives you a documented understanding of the roof’s condition and an itemized repair or replacement scope to compare with the insurer’s estimate. That comparison matters because insurance estimates can sometimes omit components needed to complete the work correctly, such as flashing, ventilation-related materials, underlayment, drip edge, or code-required upgrades.
For property owners in Durand and nearby communities, working with a local roofing contractor also means the inspection reflects common Michigan weather conditions, including wind events, hail, ice damage, and freeze-thaw exposure.
Be Present for the Adjuster Inspection if You Can
Arrange to be available when the adjuster inspects the property. If possible, have your roofing contractor present as well. The contractor can point out documented damage, explain the proposed scope, and answer practical installation questions.
This is not about arguing with the adjuster. It is about making sure the inspection considers all affected areas. Damage to a roof can also affect gutters, vents, flashing, skylights, interior finishes, and detached structures. Mention every area you documented, even if it seems minor.
After the visit, request a copy of the adjuster’s estimate. Review the line items rather than looking only at the total. A lower estimate is not always wrong, but it should include the materials, labor, disposal, protection measures, and related work required to restore the roof properly.
Compare the Insurance Scope With the Roofing Estimate
A clear roofing estimate should describe exactly what is included: tear-off or repair work, underlayment, shingles or membrane materials, flashing details, ventilation components where applicable, site protection, debris disposal, cleanup, and warranty information. This makes it easier to identify gaps between the insurance scope and the work needed on site.
If the insurer’s estimate misses necessary items, your contractor can provide documentation supporting a supplement request. A supplement is not automatically a dispute. It is a request for the carrier to review additional work or materials that are necessary and supported by the damage and policy coverage.
Do not sign a contract that leaves the price blank or gives a contractor unrestricted control over your insurance proceeds. You should understand the scope, payment schedule, warranty, and your responsibility for the deductible before work begins. Insurance fraud can occur when someone offers to waive or hide a deductible, and it can create serious problems for the property owner.
Know What May Not Be Covered
Insurance generally covers sudden, accidental damage from a covered event, not ordinary aging or deferred maintenance. A roof that has reached the end of its service life, has long-term leaks, or shows gradual wear may need replacement without a covered claim.
The line can be complicated. A storm may damage an older roof, while pre-existing wear may also be present. That is why photos, weather dates, a professional inspection, and a detailed estimate are useful. The age of the roof does not automatically eliminate coverage, but it can affect how the claim is valued under the policy.
If a claim is denied or the scope seems incomplete, read the written explanation carefully. Ask the carrier which policy language supports its decision and what additional documentation it would consider. You may request a reinspection when appropriate.
Move Forward With Work You Can Verify
Once coverage and scope are settled, choose a contractor based on more than a quick price. Confirm licensing, insurance coverage, local experience, material knowledge, and the details of the written estimate. Roofing work should protect the property during installation and leave the site clean when the job is complete.
DLR Construction provides detailed, line-item roofing estimates so homeowners and property managers can see the planned scope before work begins. That clarity is especially valuable when a claim estimate, deductible, and repair decisions all need to fit together.
A roof insurance claim is easier to manage when every step is documented and no one rushes you into a decision. Protect the property first, keep the records, ask clear questions, and choose workmanship you can count on long after the claim is closed.