
A roof replacement is not a one-day decision, even when the installation itself takes only a day or two. A clear roof replacement timeline helps homeowners and property managers plan for inspections, material choices, weather, insurance paperwork, and the work happening at the property. Knowing what comes next also makes it easier to spot the difference between a normal delay and a contractor who is not communicating clearly.
For most homes, the process takes several weeks from the first call to final cleanup. The actual construction phase is often much shorter. Commercial and low-slope projects may take longer because the roof system, drainage, building access, and weather protection require more planning.
The Roof Replacement Timeline at a Glance
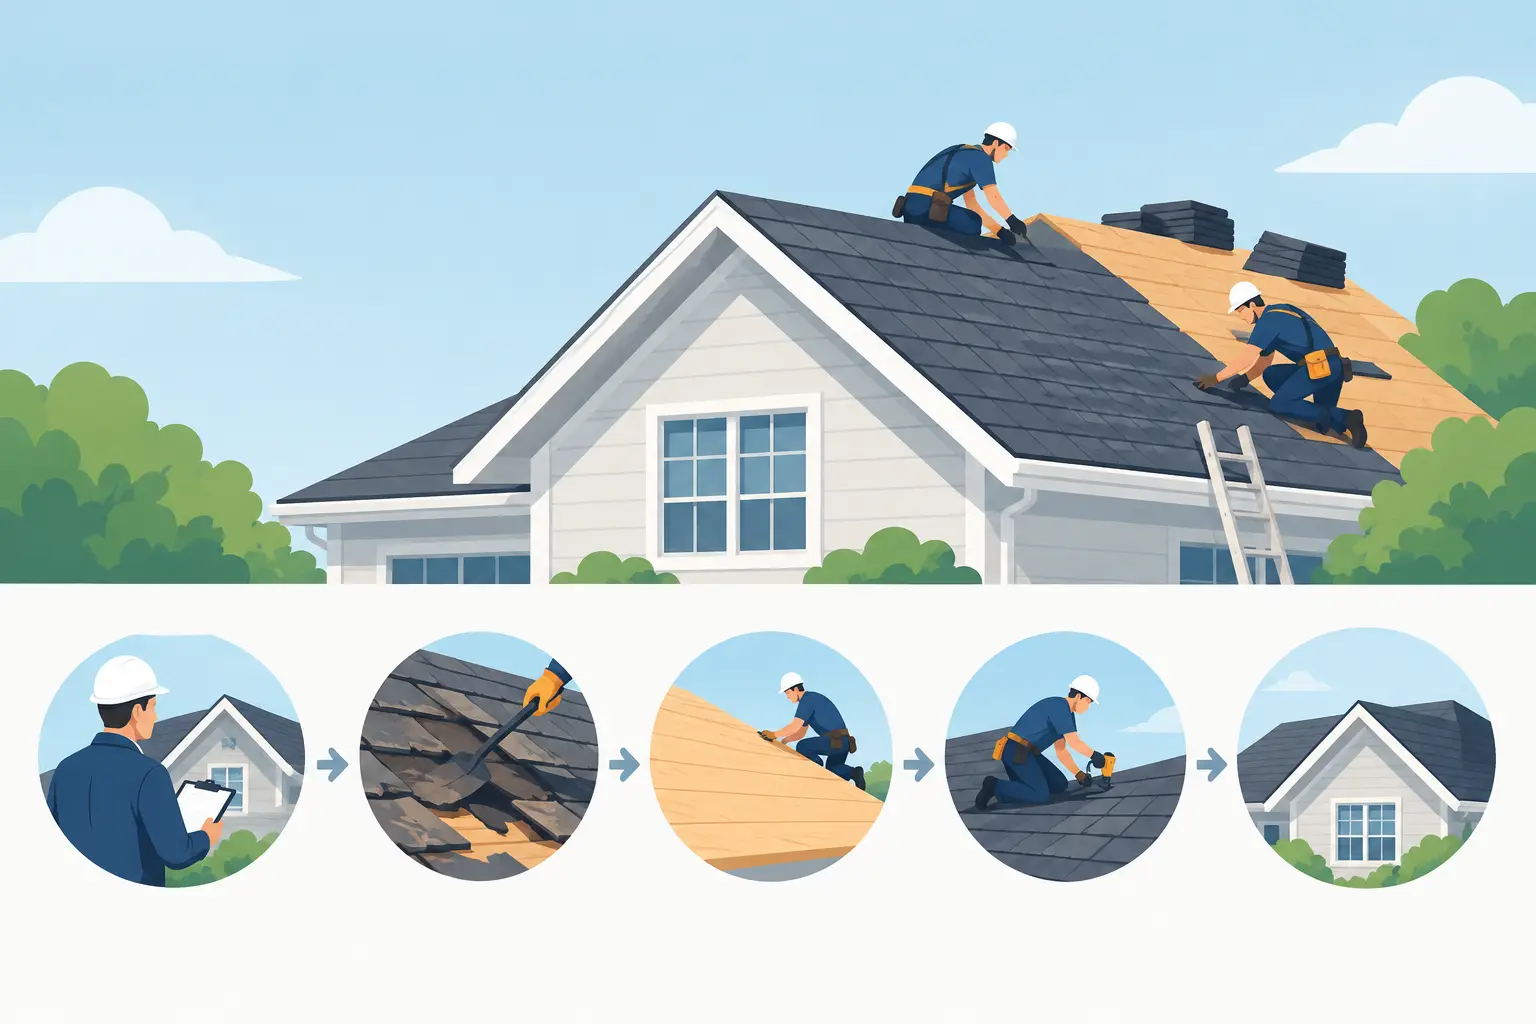
The timeline starts with an inspection, not a shingle color. A qualified contractor needs to identify the roof’s condition, measure the structure, inspect flashing and penetrations, and look for signs that decking or ventilation may need attention. If there is an active leak or recent storm damage, the inspection may also document conditions needed for an insurance claim.
From there, the schedule generally moves through the estimate, material selection, permit or insurance coordination when required, material delivery, installation, and final walkthrough. A straightforward residential asphalt shingle replacement can often be scheduled and completed quickly once materials are available and weather cooperates. A larger home, multiple roof levels, hidden damage, or a complicated claim can extend the process.
The goal should not be to rush past necessary steps. The goal is a well-defined scope of work with no surprises about what is being replaced, how the property will be protected, and what happens if the crew finds damage beneath the existing roof.
Days 1-7: Inspection and Detailed Estimate
A thorough inspection is where a dependable project begins. The contractor evaluates the roof covering, valleys, flashing, chimney areas, pipe boots, gutters, ventilation, and visible signs of moisture damage. On a commercial roof, that may include checking seams, drains, edge details, membrane condition, and areas where water has ponded.
After the inspection, the property owner should receive a written estimate that explains the work in plain language. It should identify whether the existing roof will be torn off, what underlayment and flashing work is included, how landscaping and exterior surfaces will be protected, and how debris will be removed. Warranty details should also be clear.
This stage may move quickly for a simple replacement. It can take longer when the roof has storm damage, multiple layers of existing roofing, access limitations, or an active insurance claim. If an estimate is vague, it is hard to compare bids fairly and even harder to know what you are paying for.
Weeks 1-3: Decisions, Claims, and Scheduling
Once the scope is approved, materials are selected and the project is placed on the schedule. For homeowners, this often means choosing an asphalt shingle color and confirming details such as ventilation, gutter protection around the work area, and access to the driveway. Property managers may need to coordinate tenant notices, rooftop equipment access, parking, or building operations.
Michigan weather has a real effect on scheduling. Roofing crews need safe conditions and dry roof surfaces for proper installation. Light scheduling adjustments are normal during rain, high winds, or severe temperatures. A local contractor should explain those changes promptly rather than leaving you to wonder whether your project is still moving forward.
Insurance claims can add time, but they do not always stop the planning process. The property owner may need to provide photos, inspection reports, or meet with an adjuster. Keep copies of estimates, claim correspondence, and approved scope documents. If the insurer approves only part of the work, review the difference carefully before authorizing construction.
For a commercial low-slope roof, this period may include deciding whether a full replacement is necessary or whether restoration is a better fit. A roof with a sound substrate and limited deterioration may be eligible for a coating solution, while widespread membrane failure, saturated insulation, or recurring leaks may point toward replacement with TPO or EPDM. The right choice depends on the roof’s condition, not simply the lowest initial price.
A Few Days Before Installation: Preparing the Property
Preparation makes installation day safer and less disruptive. The contractor confirms delivery, crew arrival, dumpster placement if needed, and the expected work sequence. Homeowners should move vehicles away from the work area, secure patio furniture and fragile outdoor items, and keep pets indoors or in a quiet location. Roof replacement is noisy, and vibration can be noticeable inside the home.
Inside, remove wall hangings or fragile items that could shift from vibration, especially in upper-floor rooms. Cover belongings in an attic if dust is a concern. If you have solar equipment, satellite dishes, or specialty rooftop fixtures, discuss them before the work begins. These details are much easier to handle in advance than during tear-off.
A responsible crew will also plan for cleanup before the first bundle of material arrives. That includes protecting siding, landscaping, driveways, and walkways where practical, as well as identifying safe paths for debris removal.
Installation Day: What Actually Happens
For many residential roofs, installation takes one to two days. Larger or more complex homes can require several days. The crew begins by setting up protection and removing the old roofing material where tear-off is included. Once the roof deck is exposed, they inspect it for soft, rotted, or damaged sections.
This is one of the most important moments in the roof replacement timeline. Decking problems are not always visible from the ground or from inside the attic. If repairs are needed, the contractor should show or clearly explain the condition, discuss the added work, and document the change before moving ahead whenever possible.
After the deck is ready, the crew installs the appropriate underlayment, flashing, ventilation components, and new roof covering according to the selected system. Details around valleys, walls, chimneys, skylights, and penetrations matter as much as the field of the roof. A roof can look good from the street and still leak if those transition points are handled poorly.
Commercial work often proceeds in sections so the building remains protected throughout the job. Crews may remove and replace roof areas in planned phases, coordinate around HVAC equipment, and monitor weather closely. This work can take days or weeks depending on the size of the building and the condition of the existing system.
Final Cleanup and Walkthrough
Cleanup should happen throughout the project, not only after the crew leaves. At the end, the contractor removes debris, performs a magnetic sweep for nails, and clears work areas. The final walkthrough is the time to review the completed roof, ask about warranty coverage, and confirm that concerns were addressed.
Do not hesitate to ask practical questions. Find out how to report a future issue, what maintenance is recommended, and whether nearby gutters, flashing, or ventilation need periodic attention. For commercial properties, request documentation of the installed system and any maintenance recommendations for drains, seams, and rooftop equipment areas.
What Can Delay a Roof Replacement?
Weather is the most common scheduling factor, but it is not the only one. Material availability, permit requirements, insurance approvals, hidden deck repairs, and difficult site access can all affect the schedule. These are not automatically signs of a problem. Poor communication is the bigger concern.
A trustworthy contractor sets realistic expectations, provides updates when conditions change, and explains what the delay means for your property. Be cautious of anyone promising an exact installation date weeks in advance without acknowledging weather or material variables. Roofing is exterior construction, and responsible scheduling leaves room for conditions that protect the quality of the finished work.
If your roof is leaking now, do not wait for the full replacement schedule to take shape before asking about temporary protection or repair options. A prompt inspection can help limit interior damage while the permanent plan is finalized.
For homeowners and building owners in the Durand area, DLR Construction provides free estimates that outline the roofing scope, protection measures, cleanup, disposal, and warranty information. The best next step is simple: get the roof inspected early, ask direct questions, and choose a schedule built around sound workmanship rather than false promises.